Sunday, February 24, 2013

Easy Pantry Make Over!

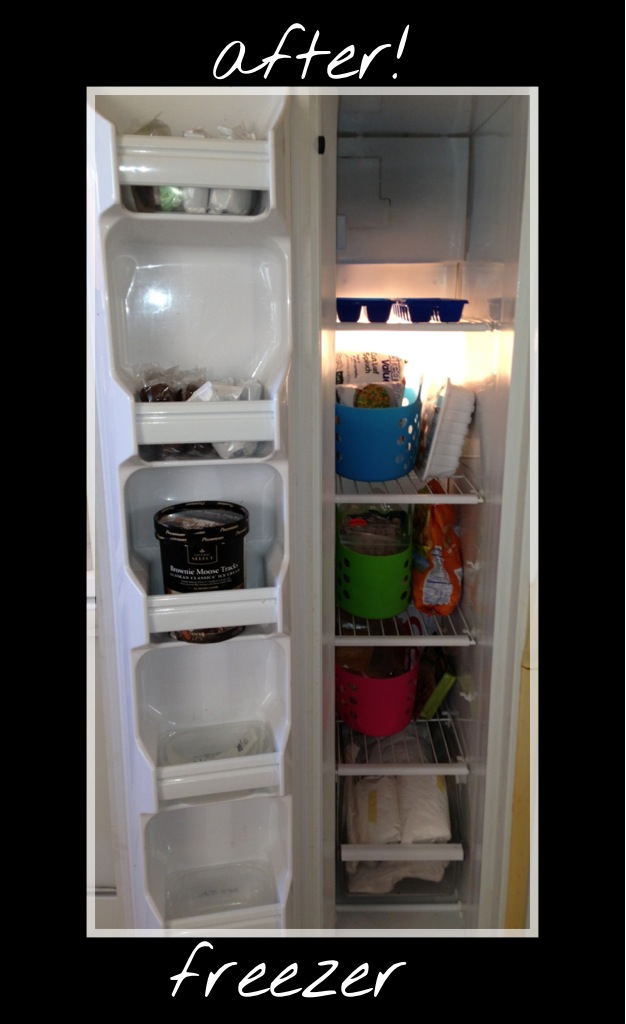
Here is my kitchen "pantry".  I am not sure this is an actual pantry or not, but its the only place built in my house to store food it seems. 
By this time I think you guys are starting to wonder how I functioned like this... and honestly so am I. haha. 
Here in the pantry we have the microwave on the top shelf.  There are actually things in front of it in this picture because I spaced on my "before" picture and had already started pulling stuff out. 
The second shelf, second and last drawer is a mix of anything that could fit.
The first drawer is a carry over of spices from the spice cabinet that will be made over as well.
Other then that, choaz. 


And here comes the AFTER! I love this part.  Again, a quick trip to the dollar store to explore basket options was successful
 

On the first shelf is the microwave still.  Next to it I added 2 small shallow baskets that now house my lunch bags, freezer bags and a cup for straws. On top of the microwave are other pantry needs, saran rap, oven bags, and zip lock with tea.

On the second shelf back where you cannot see, are 3 large bulk containers of spices. A large container of aluminum foil and saran rap. I have added two baskets, currently one of them houses my baking needs.  In here is flour, powdered and brown sugar, and muffin liners.

The first drawer that was previously housed with spice run over now is beautifully organized with 3 baskets in front and pasta in the free space in the back. The first basket in blue I have the extra side dishes that were taking up space in half empty boxes.  Lets take the instant rice for example, it comes with six bags of instance rice, we were down to two. I took it out of the box and into the basket, I cut out the directions and taped them to a bag.  Takes up a lot less space.  Again, I have tried to group like things together. I have empty baskets to put my spaghetti sauce in, and whatever else I get from the grocery store.

I must admit, I love having empty space to load up with groceries.  It makes coming home from the grocery store so much less hectic.


This drawer actually doesn't have any baskets - sad bears. I guess I measured incorrectly, so the baskets I purchased didn't fit the height of the drawer.  I may adventure back again to find another basket, but this doesn't look to bad. I have the veggies/fruits on one side and the soups on the other.


This drawer is full of fun.  We call this the kids drawer, as it holds all the things our lil munchkin likes to eat.  I have a shallow basket that again holds the items that would other wise be taking up room in half empty boxes.  This includes yogurt packs, popcorn, and noodles.  In front of that I have another shallow basket that is home to ritz crackers.  I cut open a million little bags of cheese popcorn from costco and placed it into a large zip lock.  This works because I don't have a kids lunch to pack with the individuals.

I love being able to think of an item and know what "category" its in and exactly where it is placed. The colorful baskets would help if I had to direct any one else where to find things. 


Tuesday, February 19, 2013

Out going mail

I am a renter... I am a renter of a lovely shoebox home I am lucky to be able to rent from my brother in law. My brother in law has his business mail coming to our address and it quickly gets mixed up into our mail. I worked on organizing our mail/bills in an accordion file so I needed a quick place to put his. My goal was not to have it pile up on my table or other flat surfaces... Then the idea popped in my head! I attached them to the wall! I used two command strip 'hooks' side by side measured to fit the smallest mailing envelope I had on hand. I have enough room from room to fit 5 letters. I placed these right on the wall next to the door so we can pick them up on our way out!

Monday, February 18, 2013

"Office Space" or the lack there of...

Our house only has 2 bedrooms, bathroom, a living room dining area all shared in one space, and a kitchen on the bottom floor.

It does not provide any space to do computer work. Now I'm not just talking Facebook and Pinterest! haha ... In this day in age we have 78% of our bills paid online right?

I have never had a designated place so things were pilled everywhere. I even used the empty space behind the couch before!

I decided to rearrange the living-room a bit to see if I could resolve this situation.

I started with clearing off our sofa table to store the lap top. I found this large basket on clearance at Joanne fabrics. It ended up being 7 dollars and I love it. The computer fits in it nicely and has enough room around the sides for easy access.

Of course I put up my cute decorations. This is my living-room after all.

I used the space under the sofa table to all the home office supplies.

I placed the printer on a milk crate so I could put our books under it and maximize space. This thing doesn't look the sturdiest so I think I'll have to adjust this later.

I had these storage drawers in my hall closet to hold bathroom accessories and medicines. But I decided they would serve a much better purpose here, and I wouldn't have to go spend any money!

( boy am I excited to organize that hall closet now!)

I had everything put in the drawers and stepped back. sigh, I wasn't as thrilled as i wanted to be. So I decided I didn't like the stuff glaring at me through the see through drawers. I decided I could fix that pretty easy!

I used 3M postal wrapping paper from the dollar store my husband had bought for a different project. It's brown which matches my living-room very nicely.


I cut the paper to fit inside the front of the drawer. I just used a kids glue stick and pressed it to the drawer. The glue dried clear. A more experienced crafter could use mod podge and it may be a lil more sturdy.

My husband asked me what I was doing and how I could tell what was in the drawers now they were covered. Silly question really! I labeled the drawers with my label maker :).

I'm pleased with the completed project and am happy it all has a home. It's not the perfect solution ( a bigger house would be haha) but it works for the space I have and makes it all easy to get too. With the ottoman in front of it, it's even more tucked away.


This project cost me 0 dollars today as I used everything I had on hand already.

The Fridge / Freezer - FREEZER!

Here is the second part of the fridge/freezer organization!

The freezer!

I hardly ever USE the freezer because it was so bad.  I had NO idea what was in there, although ice cream is always accessible on the top shelf.

I see hot dogs and french fries... and random junk. 

Here is the before!

Here is the after!

 
I used the Tupperware that comes with sandwich meat to put in the doors.  They fit perfectly and this keeps everything from popping out. 

You may have noticed in the before picture I froze Hostess products. I went a bit crazy when they closed and bought a few boxes of what I could get my hands on.  I then got them home and my husband was like, these expire in 2 weeks.  Damn.  But lucky the hostess website had freezer instructions. 

So in my first two door shelves I have the hostess products. Out side the box they sure do take up a lot less room. The middle one I left the Tupperware out of so it could fit a ice cream container.

On the top shelf of the freezer I have two ice trays, a luxury I could not fit before.  I bought these two beauties from the dollar store and they work great.  When completely frozen they can be stacked on top of each other. 

The shelves below I used three totes I purchased from the dollar store as well. They each have their own contents and enough room on the side for extras.  I put the kid friendly contents together,  frozen veggies together, and my potatoes together.  

The bottom drawer has meat from the butcher.  I am not sure how to do this any better just yet. I really want those moved out to the freezer in the garage. 


This whole fridge make over cost me 5 dollars. I did reuse the Tupperware I had! Its great to use what you have on hand. I am loving the beautiful colors I have picked up from the dollar store.  Again, the dollar store keeps up with the color scheme of the season, so if you like color...Pick these up now!


Sunday, February 17, 2013

The Fridge / The Freezer

Another thing in my home that is small...would be my fridge/freezer...

I know I have been waisting alot of food because we simply don't know what is there.....and we buy stuff because we don't know we already have it...

Here is my fridge make over... Let's start with the before.  Now I am not proud of this before at all, but its the truth. Craziness.
Lets break this down... Top shelf: we have left overs from last night, some wine hidden in the back and some super global fruit blend... second shelf: I spy some jelly, left over mashed potatos... Third shelf eggs: bottom shelf milk and meat... Door: condiments... 

Yea, as you can tell there is alot of food in there that I cannot account for.

I started this project by pulling everything out and placing it on my stove in the most organized fashion I could think of.  I put my pickled stuff to one side, my meat to the other, and just tried to categorize it as I was pulling it out. 

I then pulled out all of the shelves that I could and threw them in a tub of hot soapy water.  I let those soak as I cleaned the inside of the fridge.  This actually went quicker then I expected.

I made a made a quick trip to the dollar store, and this is the after.

 
Here is how I tamed the beast.
 
On the top shelf I have a clear bin thawing out some meat for our next dinner. Next to that I have our eggs.  I have plenty of room to place other dinner ingredients between the two, which will make dinner a bit easier don't you think?
 
The second shelf I have reserved for left overs. These usually have Tupperware containers themselves, so no clear bins here. 
 
The third shelf I have two clear bins.  The one on the left is kid friendly food.  I have jelly, peanut butter, yogurt and "soda" which is flavored sparkling water.  Next to that I have sandwich fixings.  This has mayo and mustard in back, sandwich meat, and cheese up front.  These two bins are great because you can pull out the bin and you have everything you need to make a quick snack.
 
The bottom shelf... This one is a bit of fun... My husband loves pickled foods.  We have in the left tub our marinades and pickled goods...then in the right tub, we have more pickled goods.  Pickled items are actually pretty expensive, so its nice to see what we have!!!
 
In the top drawer I have our salad, fresh veggies and shredded cheeses.
 
In the bottom drawer I have every mans dream... Beer!
 
Now onto the door of the fridge.
 
On the top door shelf I have our global fruit blend, salad dressings, and spray butter. 
 
On the second shelf I have our hot sauces and salsa. I also have our two wines in the door which will give us easy access to them =).
 
On the third shelf which you cannot see here I have our Milk, cake frosting and cookie frosting.
 
On the bottom shelf, again you cant see it here, I have our BBQ sauce, teriyaki sauce and soy sauce.
 
....Wow... I have alot more items then I could account for previously right?
 
Hopefully this will help with cutting down on unnecessary grocery shopping!


Cheep! Cheep!

I did this whole make over for 4 dollars!

I used place mats I got at the dollar store on each of the shelves in the fridge.  Mine match the oven mitts and kitchen towls I have, they are a bit on the busy side...simple ones would look great too. The idea of this is if something spills, you can take out the mat instead of the whole shelf. 

The bins I used were given to me buy a cowoker, but you can get those cheep at the dollar store as well.

As you follow my blog, you will notice I love the dollar store.  Its just down the road from me, its cheap, and they usually carry the same things all the time, so if you need more you can find more.
The buckets used in my pantry make over are the same buckets I used to sort baby diapers 3 years ago. The colors update with the season, so alot of the things I am getting are bright and beautiful.

Stay tuned for the freezer! 

The beginning

The beginning...

I pretty much live in what I would call a shoe box...
My house, I am thankful for, but it is small.

Small can be a blessing and a curse.

Small places are easy to mess up, and quick to clean up.

We will focus on the clean up... hopefully.

Here is my first attempt at blogging...

Tell me what you think as you follow my projects.

Have fun!

Erika